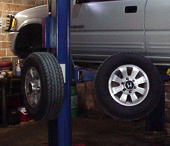
Tire Hanger Installation
Page 1
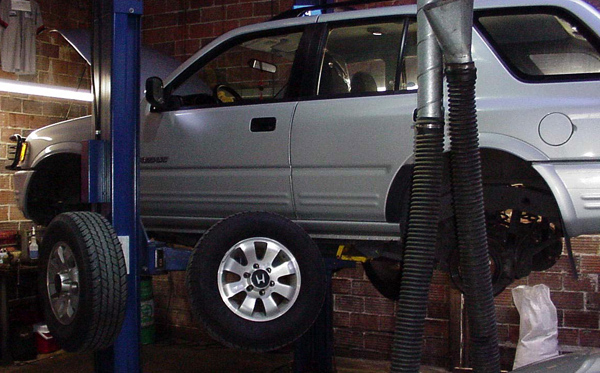
The following pages will assist you in preparing the hoists in your shop for installation of The Tire Hanger. There are no templates for installation because of the vast number of hoist configurations available. Using these instructions as a guide you will be able to determine the correct placement.
If assistance is needed please call 831-801-7970
Page 2
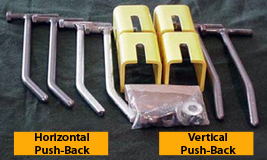
Tire Hanger SetYour set contains 4 yellow brackets and six support pins. 4 Pins for horizontal pushback and 2 pins for vertical push-back. Install pins in brackets before welding to hoist. |
 |
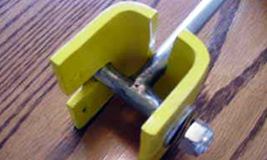
Preparing the Tire HangerThe support bracket has been pre-cleaned |
 |
Mounting on Hoist ArmStep 1: Location on ArmRaise a car on the hoist to working height. |
 |
Page 3
Step 3: Preparing the armWith a die grinder or similar tool remove a |
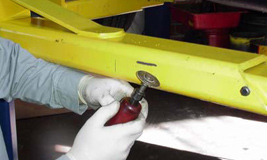 |
Step 4: WeldingWelding should be performed by a professional certified welder. “Lock-Out Tag-Out” electrical power to the hoist before welding. Prepare all hoists in advance |
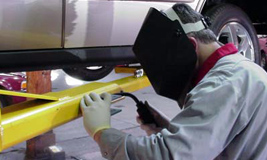 |
Ready for use!The Tire Hanger is designed to eliminate |
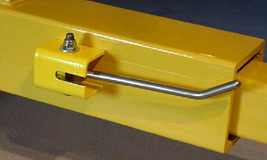 |
Page 4
Mounting on UprightStep 1: Location on uprightWith the vehicle raised to working height mark the hoist upright at the height of the hoist arms. Locate a position that will not interfere with other hardware. |
 |
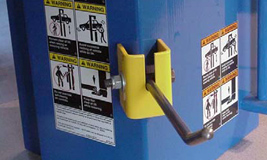
Location on uprightBecause the back of the Tire Hanger bracket is open it is possible to mount it in any configuration. Some motor/pumps will create a space restriction on one of the uprights. |
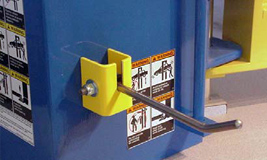 |
Location on uprightMoving it to the Corner of the upright at any angle will give you sufficient room to hang the tire. |
 |
